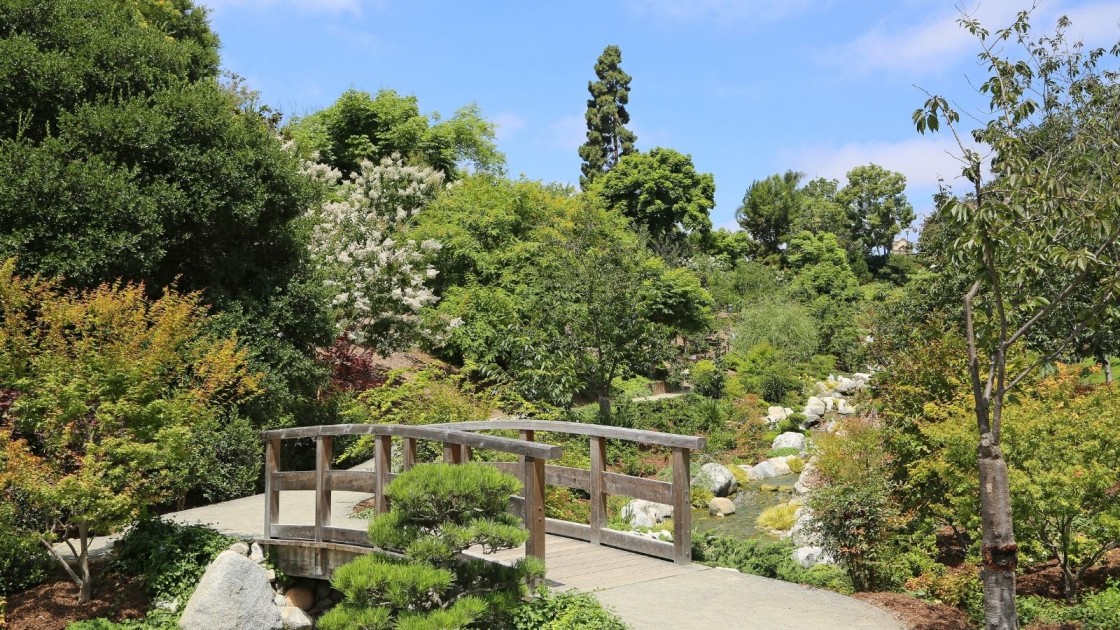
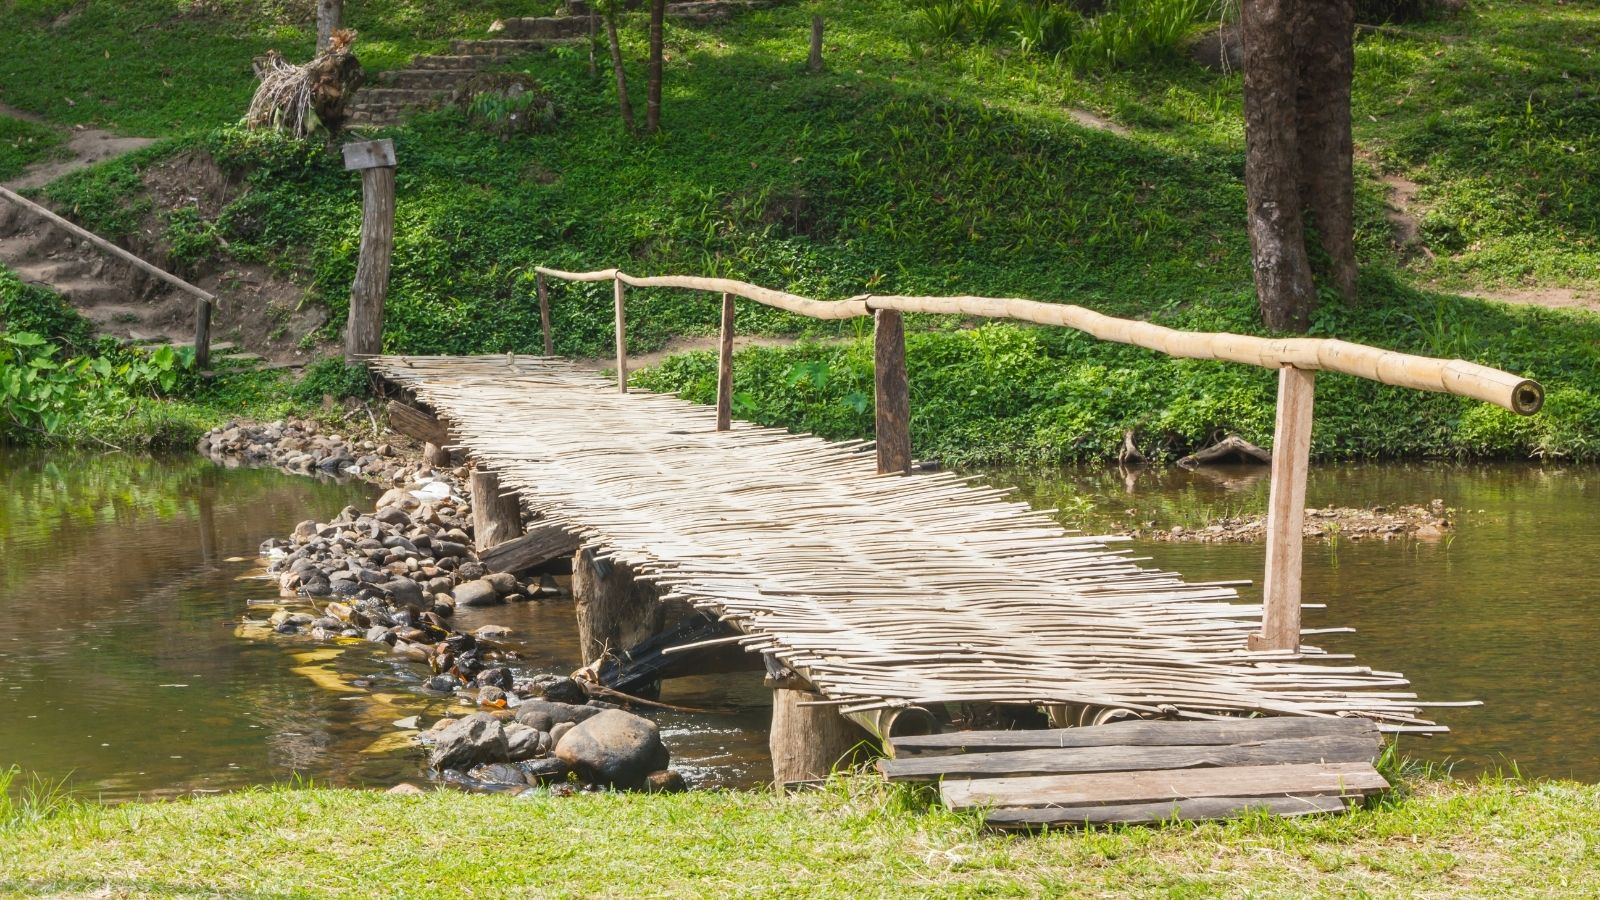
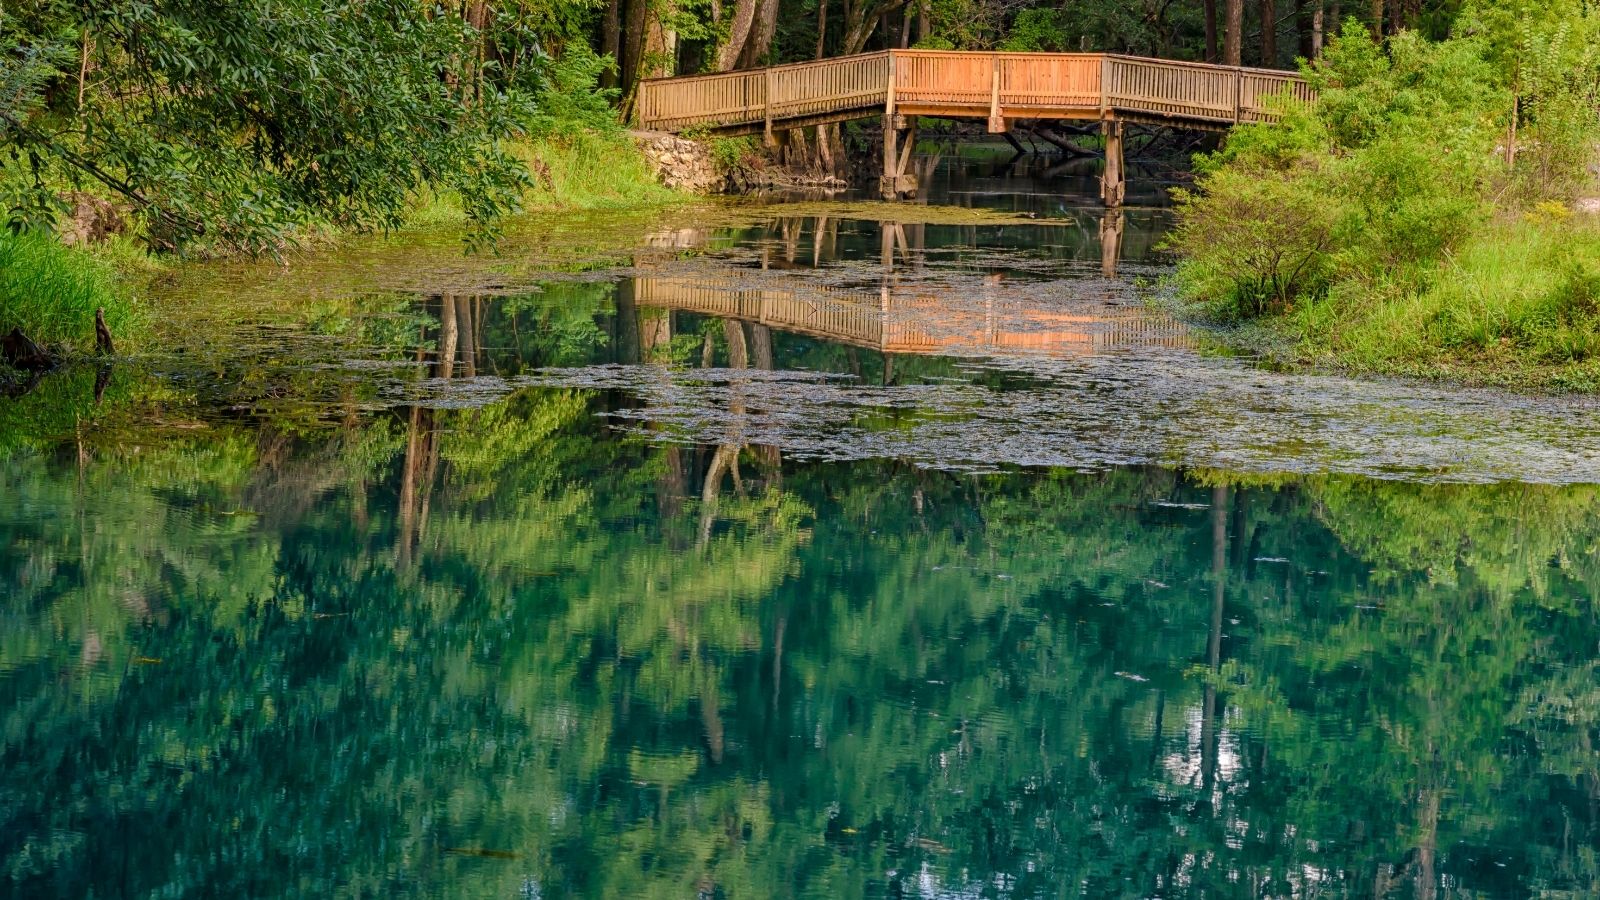
With the trendy ideas floating in the air, every garden either has a tiny personal pond or a beautiful trickling brook. Having decorated the garden with beautiful ponds, the next question arises is about navigation. To cross the pond, a bridge always looks attractive and aesthetic. Well, bridges can also be used to walk past from one portion of the garden to the other. You can also build a bridge just as an attractive showpiece and can hang baskets of primroses and lavenders at the sides.
All the more, a wooden bridge further adds on to the vintage look. While investing in the garden areas, one must remember to be economical. The external factors like the scorching heat, the rain or the speeding wind might hinder with the structure left barren under the sun. Hence, it is always good to invest less money on the exterior items. Herein, we have collected a bundle of amazing steps to help you build a beautiful wooden bridge over your garden pond.

5 amazing tips to build a wooden bridge on your landscape
Primary things to remember
The total time that a garden wooden bridge can consume at maximum is a week. This one-week time period does not take in consideration any dillydallying. You better be regular and fast. Depending upon the wood you use, the cost will vary. The expenditure is not going to be very high for sure. The cost might lie within 300$. Apart from the wood, the secondary building materials like beams, screws, glue etc. might add on to the expenditure. Before building the bridge, do remember to create a rough sketch of it to understand the step-by-step process.
The important part of construction
Most important aspect of building a wooden bridge is to find the perfect wood; be it cedar or Redwood, both are equally tough and elegant. However, always buy materials according to your pocket. With the base wood for the bridge, keep in place the handrails, the sturdy beams and the decking. Never buy big solid beams for this bridge since bifurcating them later on becomes very hard and costly.

The easy building up of the beams
To make the beams, bring proper plain yet tough wood. The wood should be such that it can be bent well. While bending the beams, remember to clearly mark the point from where it should be bent. Thereby, take the appropriate measurements on the plywood and then make the cut on it.
The beams then need to be fixed to each other by wood glue. One beam should be well glued to consecutive six or seven boards to form the base of the bridge. The wood glue might take a couple of days to get dried up. You can use glue or can link them through ropes, giving the look of a suspension bridge.
The strength of this bridge will not be much. It might be able to carry up to three adults. It is advised to not hold onto the handrails unnecessarily.
Dig accurate holes to fix the bridge
Having double checked the glue fixing the beam and the boards, drill holes in the ground to fix the footings. While placing the footings, keep an eye on the top levels so that they do not get edgy and not stand on different heights. Any miscalculation can lead to the sudden collapse of the bridge. Having fixed the footings, balance the beams properly so that easily the handrails can be attached to them. The beams need to delicately pressed upon the spikes poking out of the footings.
Final touches to your bridge
The final step is also equally important to the rest of the other steps. The posts will finally be glued to the beams. Next up press upon the handrails on the posts. Even the decking needs to strong and tough. It should be glued to the beams. The wooden bridge should be polished and scrubbed well. After polishing it, it is always recommended to paint the bridge so that the logs do not get affected by the heat and rain.

Conclusion
Every garden looks beautiful in itself. With the colourful planters hanging from the shade and the lovely flower beds, it is definitely better to have a wonderful pond. Thereby, inviting an even more charismatic wooden bridge. With the modern innovations at hand, no task feels hard or boring. It is absolutely very easy to build a wooden bridge. All you need is a week to see the bridge being built. You can paint the bridge as well or can leave it with its natural ruggedness. Hopefully, these easy steps in combination with the tricks will help you to build a bridge as well.

