
Growing kale indoors is always at a great idea. It is not only very nutritious and great for one’s heath, but producing is also very easy. Growing kale at home requires no extra penny either for the maintenance or for the plantation. Kale is very rich iron, Vitamin C, Calcium, Vitamin A and fibre. When grown indoors, kale normally produces a harvest of at least three to four units in a week; depending upon the size of the planters. Quite naturally, with this harvest, it is very easy to sustain a week. While growing kale, remember to never grow them with strawberries or beans. This is because kale being already a bushy plant, cannot be grown beside another thick shrub. You can rather grow kale with celery, potatoes, spinach and onions. Since, kale is not a very tough plant hence, it usually does not entirely exhaust the base soil.
So, once you harvest kale, it is always advisable to grow nitrogenous plants to enrich the soil. After the first harvest, it is always good to grow some other nutritious plants like basil, tomatoes and peas. Then, again after the harvest of these you can once again sow kale seeds. This alternate farming is very essential for kale harvest.

Here in, we have brought to you the 7 easy steps to grow kale indoors.
Best steps to grow kale indoors
Prepare the soil
The most important part of kale growing is preparing the soil. The soil ought to be very fertile. It should contain proper amount of organic manure like the pea shells, egg shells and the banana peels. The soil ought to be appropriately drained and aerated so that in no way does the roots of kale get clogged. All the more, the soil should contain no stony bits.
Pick the correct planter
Having prepared the soil, the next important thing is to search for an ideal planter. Try to get hold of a broad planter. The planter can be shallow. The planter however should not be too thin. The terracotta rectangular planters can be absolutely perfect to grow kale. Since, kales require space to expand and proliferate, hence it is always great to have broader planters. Even large trays can also be used for planting kale seeds.
Spread the soil uniformly in the planter but do not tighten it. A compact soil always reduces the aeration and the water retaining capacity of the soil. After laying the soil, cover the upper part of the soil with a layer of organic manure and mulch. Mulch will help to reduce the growth of any kind of weeds and of any kinds of harmful pests.
Spread the seeds
Since, you would be growing indoors, hence the seeds ought to be of the hybrid or the dwarf varieties. For example, the most common one is dwarf blue curled kale.
Kale can be grown in both summer and winter but the hotter climate makes the taste very bitter and at times the texture grows very hard. Always mature the seeds before the start of the summer’s warmth. If the seeds are directly spread, then within two to three months, they will get matured. In another month or so, you will be able to see full grown kales.
Find a sunny spot
Kales need bright sunlight to grow well. so, either you can place them at the window sills or you can simply use fluorescent light. Remember not to place the planters at such window sills which receive extreme sunlight. The extra light will hamper the growth of the leaves; the leaves turn dark.
Water the planters well
Kales need regular watering. However, excess watering is not good for this plant. Too much water will rot the roots and will spoil the entire growth of the plant. Kale can grow well when watered one in two days.
Maintaining the growth of kale
The kale plants indoors need trimming and proper pruning. The outer leaves should always be trimmed so as not to allow infestation of pests. Proper trimming also makes the kales grow disease free. The dried leaves should be picked with care so that the inner green whorls do not get disturbed.
Harvesting the produce
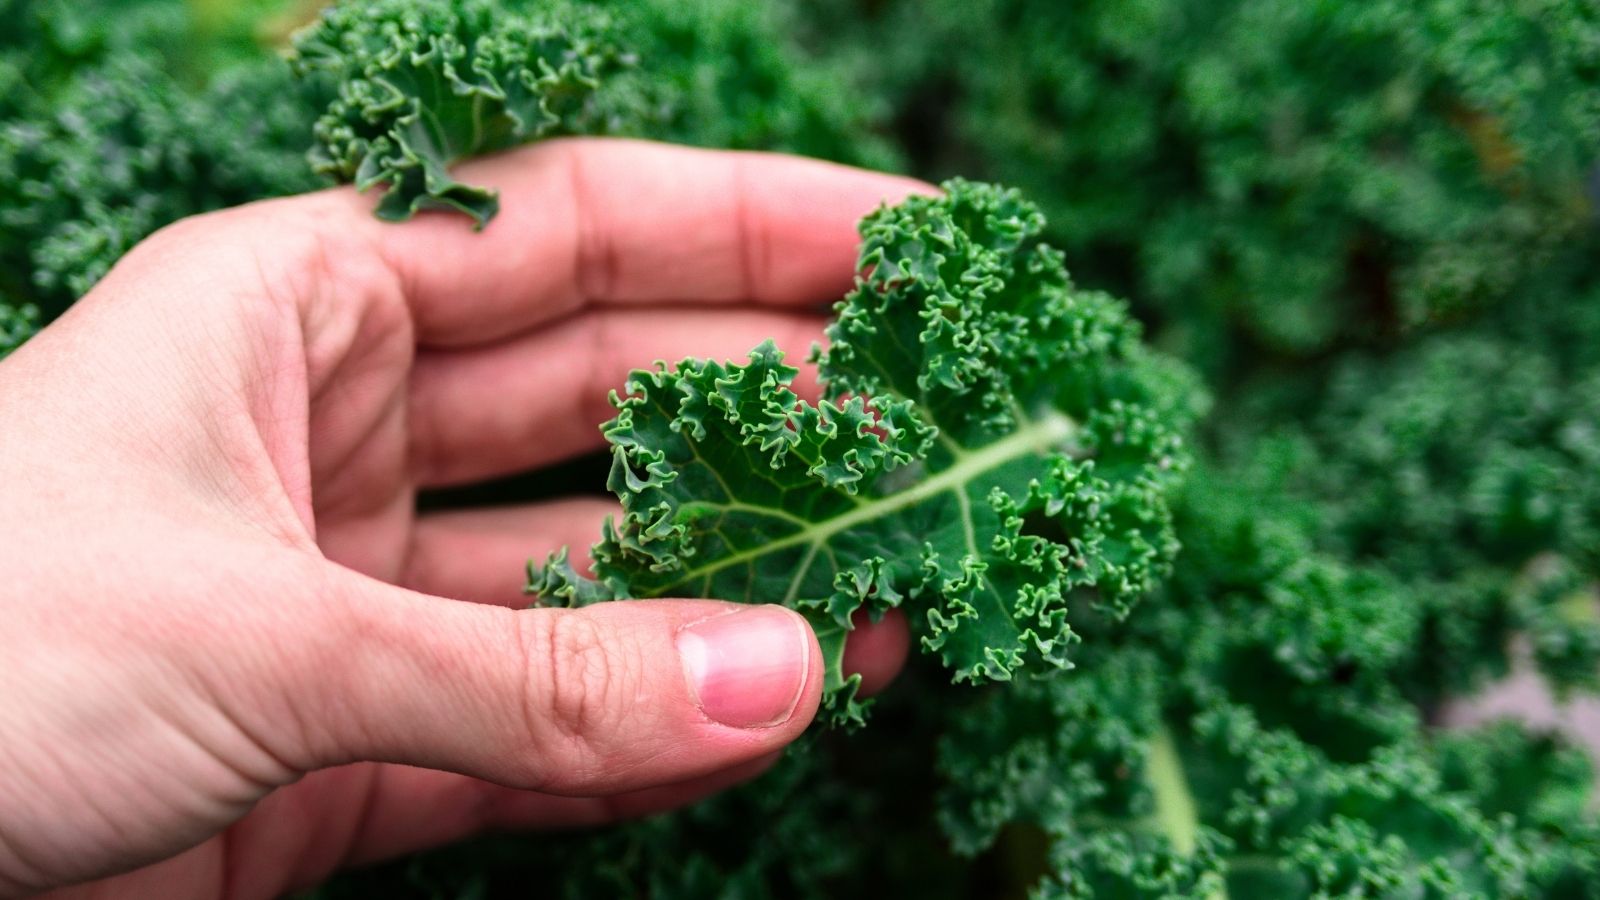
When the leaves are very large or approximately of the size of the gardener’s hand. Start to harvest from the outer to the inner ring. However, leave the innermost cluster intact to promote further growth. The inner whorl of the leaves ought to be left attached to the stem. This will help to accelerate the harvest again within two weeks.
Conclusion
Kale is indeed is an easy vegetable to be grown indoors. Hopefully, with these 7 easy steps, soon you will be able to grow fresh kale indoors too.